Stepping into the world of cryptocurrencies can sometimes feel like landing on a different planet. But fear not, we are here to guide you through one of the most fundamental aspects of the crypto space – creating your very own Web3 wallet.
Let’s break it down into simple, easy-to-follow steps, so you can secure your digital assets like a pro.
What is a Web3 Wallet?
Before we dive in, let’s understand what a Web3 wallet actually is. A Web3 wallet is your personal gateway to the decentralized world of cryptocurrencies, operating on a network that isn’t controlled by a single entity, meaning it promotes a more open and accessible financial system.
- Decentralized: Operates on a network that is not controlled by a single entity, promoting a more open and accessible financial system.
- Secure: Protects your assets with high-level encryption.
- Personal: Tailored to your needs with customizable features.
- Accessible: Available 24/7, all you need is an active internet connection.
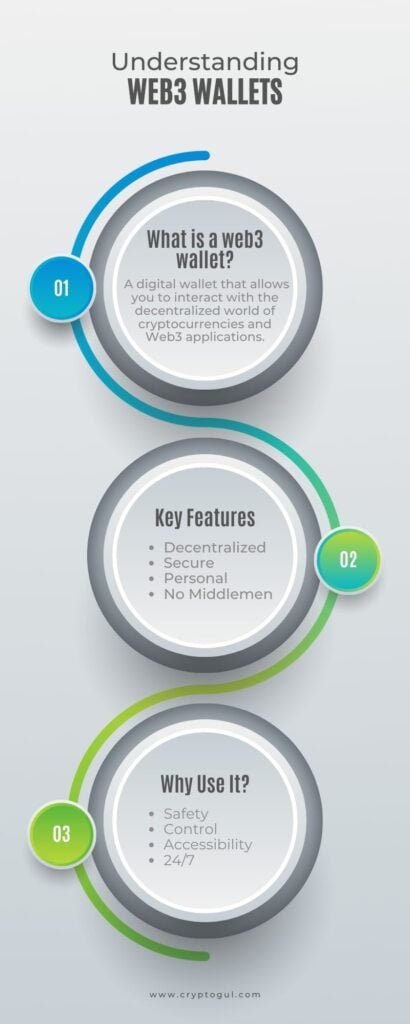
Why Do You Need a Web3 Wallet?
Understanding why you need one can be just as important as knowing how to create it. Having a Web3 wallet means you can safely participate in the decentralized finance (DeFi) space, engage with dApps, and even mint your own NFTs!
- Safety: It offers a secure environment for your digital assets.
- Control: You have complete control over your assets.
- Accessibility: Easy access to the decentralized world of crypto, including engaging with dApps and minting NFTs.
Step-by-Step Guide to Creating a Web3 Wallet
Alright, let’s get down to business. Here is a step-by-step guide to help you create your Web3 wallet:
1. Choose a Wallet Provider
- MetaMask: Popular and widely used, offering browser extension and mobile app versions.
- Trust Wallet: User-friendly, mobile-first wallet.
- Coinbase Wallet: Developed by the well-known cryptocurrency exchange, Coinbase.
2. Download and Install
- App Store for iOS users
- Google Play Store for Android users
- Or visit the wallets site directly:Download Metamask

3. Set Up Your Wallet
Follow the instructions provided by the wallet, it will be straightforward and easy to do.
- Create a strong password, this will allow you to access the addresses generated by your recovery phrase
- Note down your recovery phrase
Guarding Your Recovery Phrase: A Non-Negotiable Step
Stepping into the crypto space comes with its own set of responsibilities, and at the pinnacle is safeguarding your recovery phrase.
Picture this: your recovery phrase is like the master key to your digital fortress, a unique set of words that holds the power to recover your assets in case things go south. Losing it could mean saying goodbye to your digital assets — forever.
It’s not stored online, and no customer service can retrieve it for you; it’s all on you.
Therefore, it is imperative to store it in a secure and private location, away from prying eyes and potential cyber threats.
Think of it as the golden rule of crypto: “Your recovery phrase is your lifeline; guard it with your life.” Embrace this mantra, and you’re already steps ahead in ensuring the safety of your digital treasures.
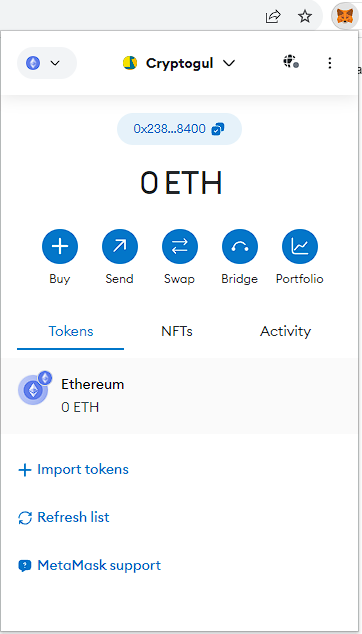
4. Personalize Your Wallet
- Add a profile picture
- Choose a unique username
These steps aren’t necessary, but they certainly help in keeping track of your wallet. Plus they add a nice personal touch.
If you want to take personalization to the next step… you can have a go at registering your very own ENS Domain.
Tips for Securing Your Web3 Wallet
Safety first! When it comes to handling digital assets, security is paramount. Here are some tips to keep your Web3 wallet secure:
- Regular Updates: Keep your wallet updated to the latest version to benefit from the latest security features.
- Two-Factor Authentication (2FA): Enable 2FA for an extra layer of security.
- Backup: Regularly backup your wallet to avoid losing your assets due to unforeseen issues.
F.A.Q
What is a Web3 wallet? A Web3 wallet is a digital wallet that allows you to interact with decentralized applications (dApps) and manage your digital assets securely. It operates on a decentralized network, promoting a more open and accessible financial system.
Why do I need a Web3 wallet? A Web3 wallet offers a secure environment for your digital assets, giving you full control and easy access to the decentralized world of crypto, including engaging with dApps and minting NFTs.
How do I choose a wallet provider? Consider factors such as security features, user reviews, and compatibility with your device.
How do I set up a Web3 wallet? Download and install the wallet app from a reliable source, set up with a strong password, and note down your recovery phrase.
Can I personalize my Web3 wallet? Yes, most wallets allow you to add a profile picture and choose a unique username to personalize your wallet.
How can I secure my Web3 wallet? Ensuring regular updates, enabling two-factor authentication, and having backup plans are essential steps in securing your Web3 wallet. Dive into our security tips for more insights.